Tutorial : Deploy your Java app with AWS Elastic Beanstalk - Tutorial
Updated:

To deploy your Spring Boot app in the web it really takes only 5 minutes thanks to AWS Elastic Beanstalk.
For the deployment we can choose multiple sources: code, docker image or deployable jar/war. In this example we shows the deploy through a war.
Ingredients: easy-and-effective
- a Spring bootable web application (Web Server embedded). For this tutorial I use the demo app : GitHub
- configure the server.port of your Spring application to 5000. BeanStalk install ngix that redirect the public port 80 of the server to the internal port 5000. You can change application.properties or set a system variable in AWS.
- an account with AWS (the deployment of application in AWS is not free).
Step by step procedure
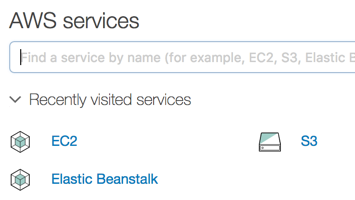
- In the AWS services select ‘Elastic Bean’.
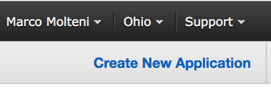
- Click on ‘Create new application’.
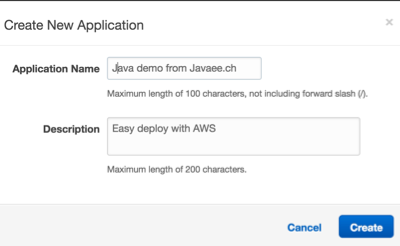
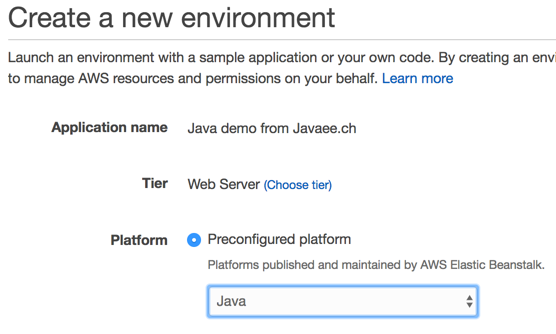
- Choose a name and write a description to your application.
- This will create your environment, you need to generate a new application. Click on ‘create one now’.

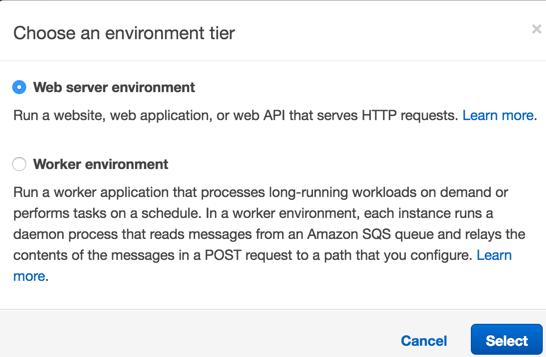
- Choose ‘Web server environment’.
- Select Java in the ‘Preconfigured platform’.
- Don’t change the option in ‘Application code’. AWS will install a default application.

- At this point you can ‘Create environment’ to create your server instance.

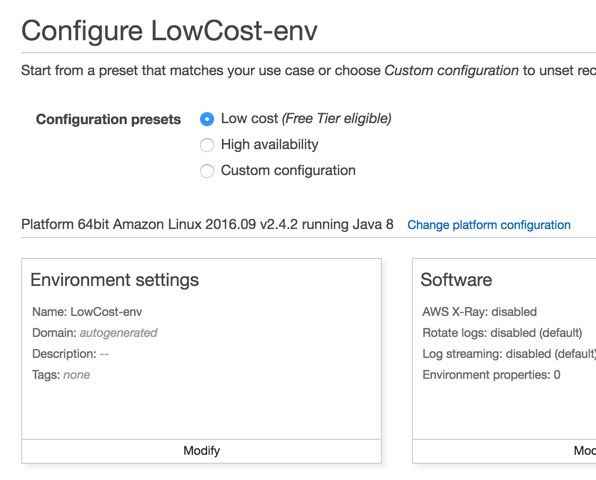
- (Optional) You can choose to customize the options of the server configuration (an EC2 instance is created). In our example we don’t change anything, the configuration suggested by Amazon is enough).
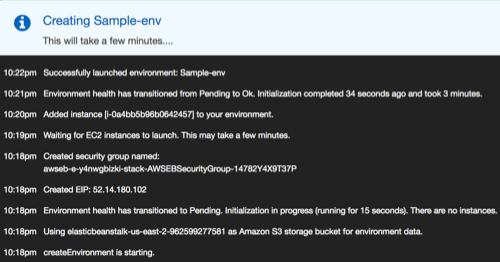
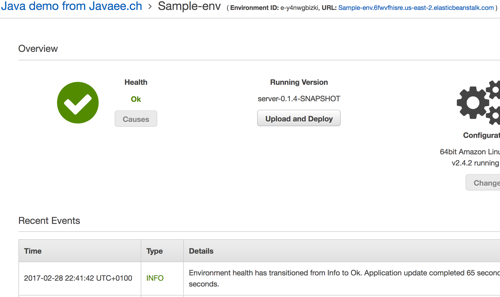
- After the confirmation the server instance is created and the demo application deployed.

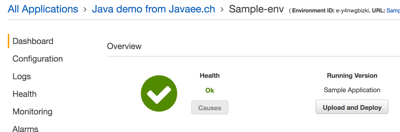
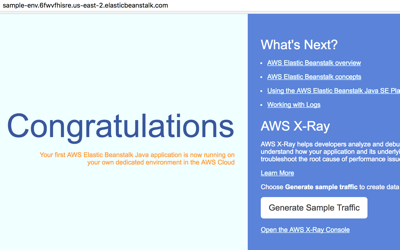
- Near the name of your application there is the clickable URL that allows you to open the app.

- Here the sample application installed by AWS.
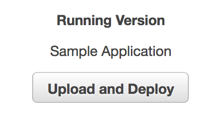
- To deploy your application you have to click on ‘Upload and Deploy’ in your dashboard.
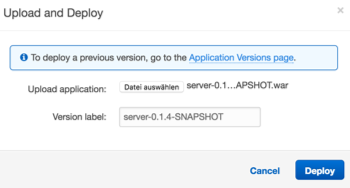
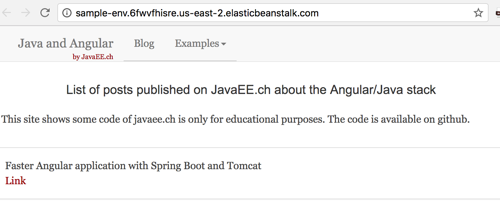
- Upload the war that you want to deploy and give a version name to this deploy, e.g. : ‘My First app version 1.0’. All the deployments are archived in S3 and you can easily redeploy a previous version.
- When the deployment is terminated you can click on the URL link and see your application deployed!
Congratulations! 🙂
How to delete your environment
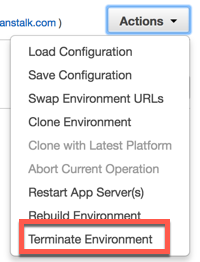
At this point you have many interesting options, p.e. you can copy your environment, save the configuration or, my choice, to delete the servers.
This server has been created only for this tutorial, now I can delete it choosing ‘Terminate environment’, after confirmation AWS will destroy the instance created and all the related objects.